Schlieren photography is a technique for making differences in refraction indices in a fluid visible. A refractive index is a measure of the degree to which light passing through the fluid is bent. In my case, the “fluid” is air and the refractive differences are caused by regions of warmer and cooler air. This is an old technique but I find it interesting.
The kind of schlieren system I built has five components: (1) a small (a.k.a., pinhole) light source; (2) a circular mirror; (3) a camera; (4) a light block (e.g., knife edge) to keep light reflected from ambient air (i.e. neither warmer nor cooler than the ambient air temperature) from reaching the camera; and (5) a subject creating air temperature differences.

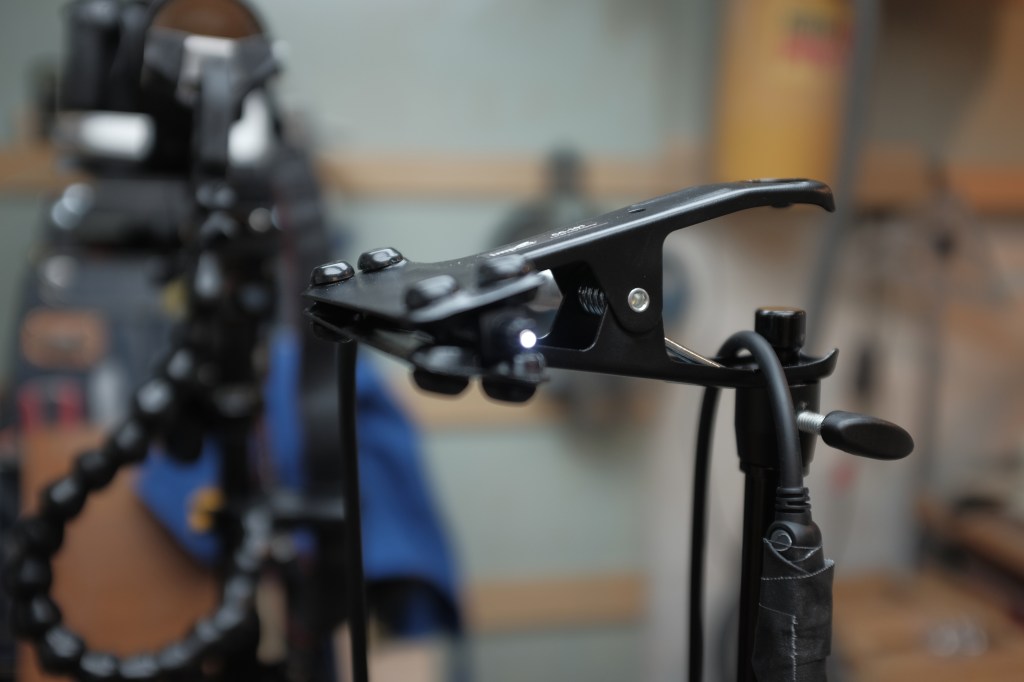
I tried several less than satisfying techniques for creating a pinhole light source. Eventually, I taped a flashlight to an optical sound bar cable and was very happy with the result. The pinhole light source is shown in the photos below. It is clamped to the top of a photographic light stand. I loaded the bottom of the stand with sand bags to keep from kicking it in the dark.

I purchased a 6-inch telescope mirror for this project for $70. I also built a simple stand to hold the mirror. Both are seen in the following picture. The distance between the mirror and its focal point is almost 11 feet. Since the only room in my house with this much open space which can be darkened is my wood shop, the mirror was taped to the table of my band saw and the camera set up on the far side of the room.

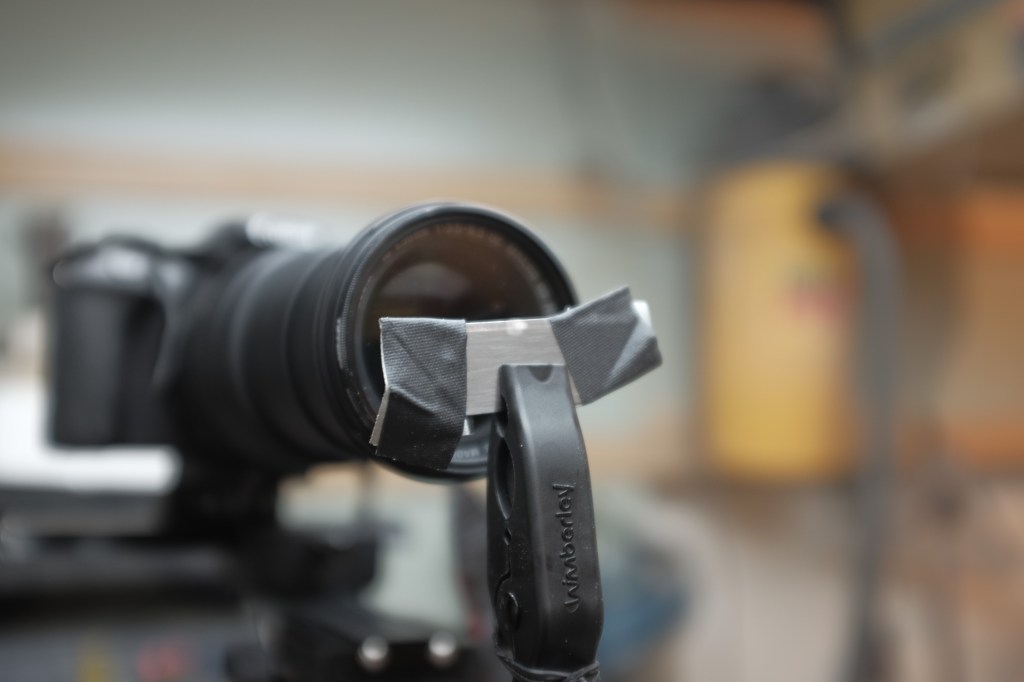
The camera was mounted to my travel tripod on a macro rail. I found that I didn’t actually need to use a macro rail but I left it there anyway. I used a portable clamp, called a Plamp, to hold my light block (a.k.a., razor blade). I was able to position the camera by turning out the lights and using a whiteboard to find the reflection of the light source. At first, I found this troublesome and almost gave up but eventually, I got the hang of it. The whiteboard also allowed me to find the exact focal point of the mirror. I moved it toward and away from the camera while watching the reflected light source. When the reflection was its smalled and brightest, I knew I had found the focal point.
The razor blade was even harder to place. The Plamp was a little to flexible for this application. I would push the razor into place and the Plamp would move slightly when I released it. I put a little gaffer’s tape on the ends of the razor after cutting myself in the dark while making adjustments. The following photo shows the camera, Plamp, and razor.
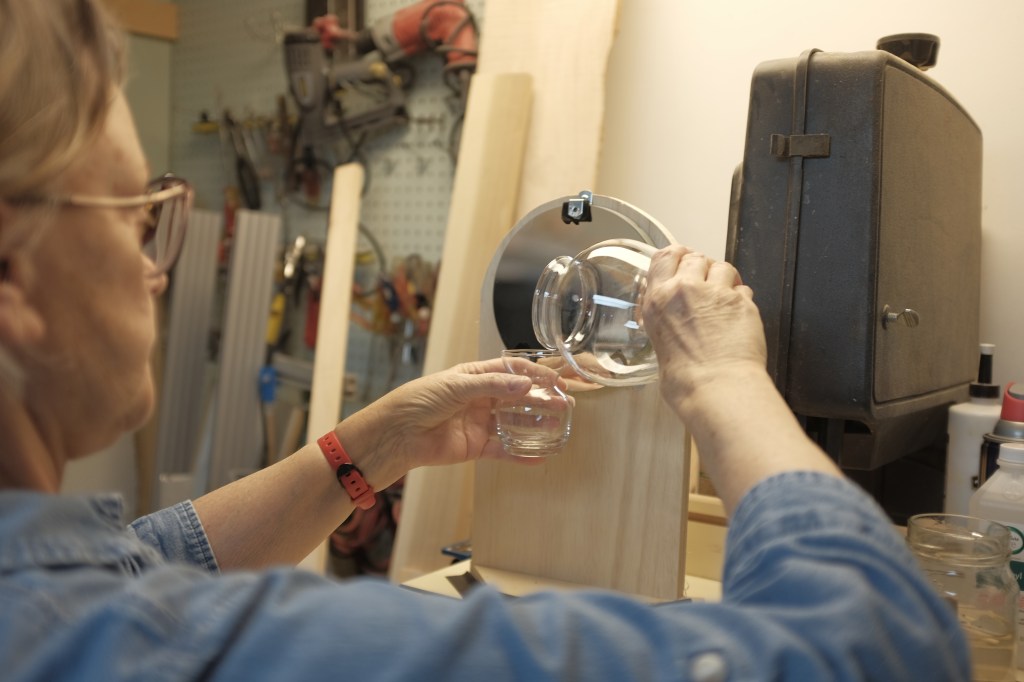
The following photo is a “dramatic recreation” (the lights were off while really photographing) of my wife pouring acetone vapor from one container to another. Acetone vapor falls downward since it is heavier than air. Only vapor (i.e., no liquid) was being transferred.
The following photograph is one of the images captured during this vapor exchange.
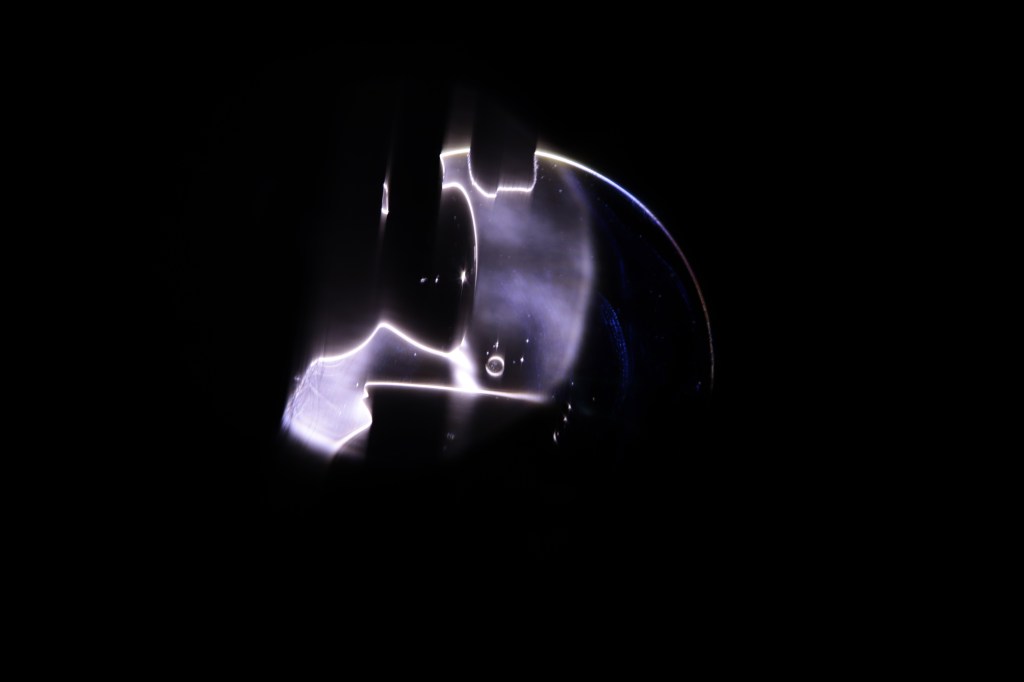
Since I prefer color images, I take these images into Adobe Lightroom and use split toning to highlight the differences in refraction. This is the above image after Lightroom processing.

More schliern images can be found at https://www.flickr.com/photos/iballrtw/.

I look forward to more experimenting 😀
LikeLike
We are taking on online photo course to keep our sanity during covid and the coming winter. I have done a little high speed photography using a sound trigger. I plan to do water drop collisions and cross-polarization soon. If you can suggest any other types of photography, I’ll see if I can build the equipment.
LikeLike
Thats a good way to keep occupied. Maybe black light? If I think of anything else I’ll let you know
LikeLike
bushboy, I have started the UV work you suggested.
LikeLike
Hey, that’s great. I look forward to seeing the results 😀😀
LikeLike